Previously on 3DTFTW
- Download and Install Some Tools If Necessary
- Download and Three.js code library
- Make a dir to hold your simple first project
- Type in the code which should get you a cube and another shape or two on screen
Aims and Objectives
- More appropriate file structure
- Build a More Complex Scene
- Core Loop
- Input
- Movement
Introduction
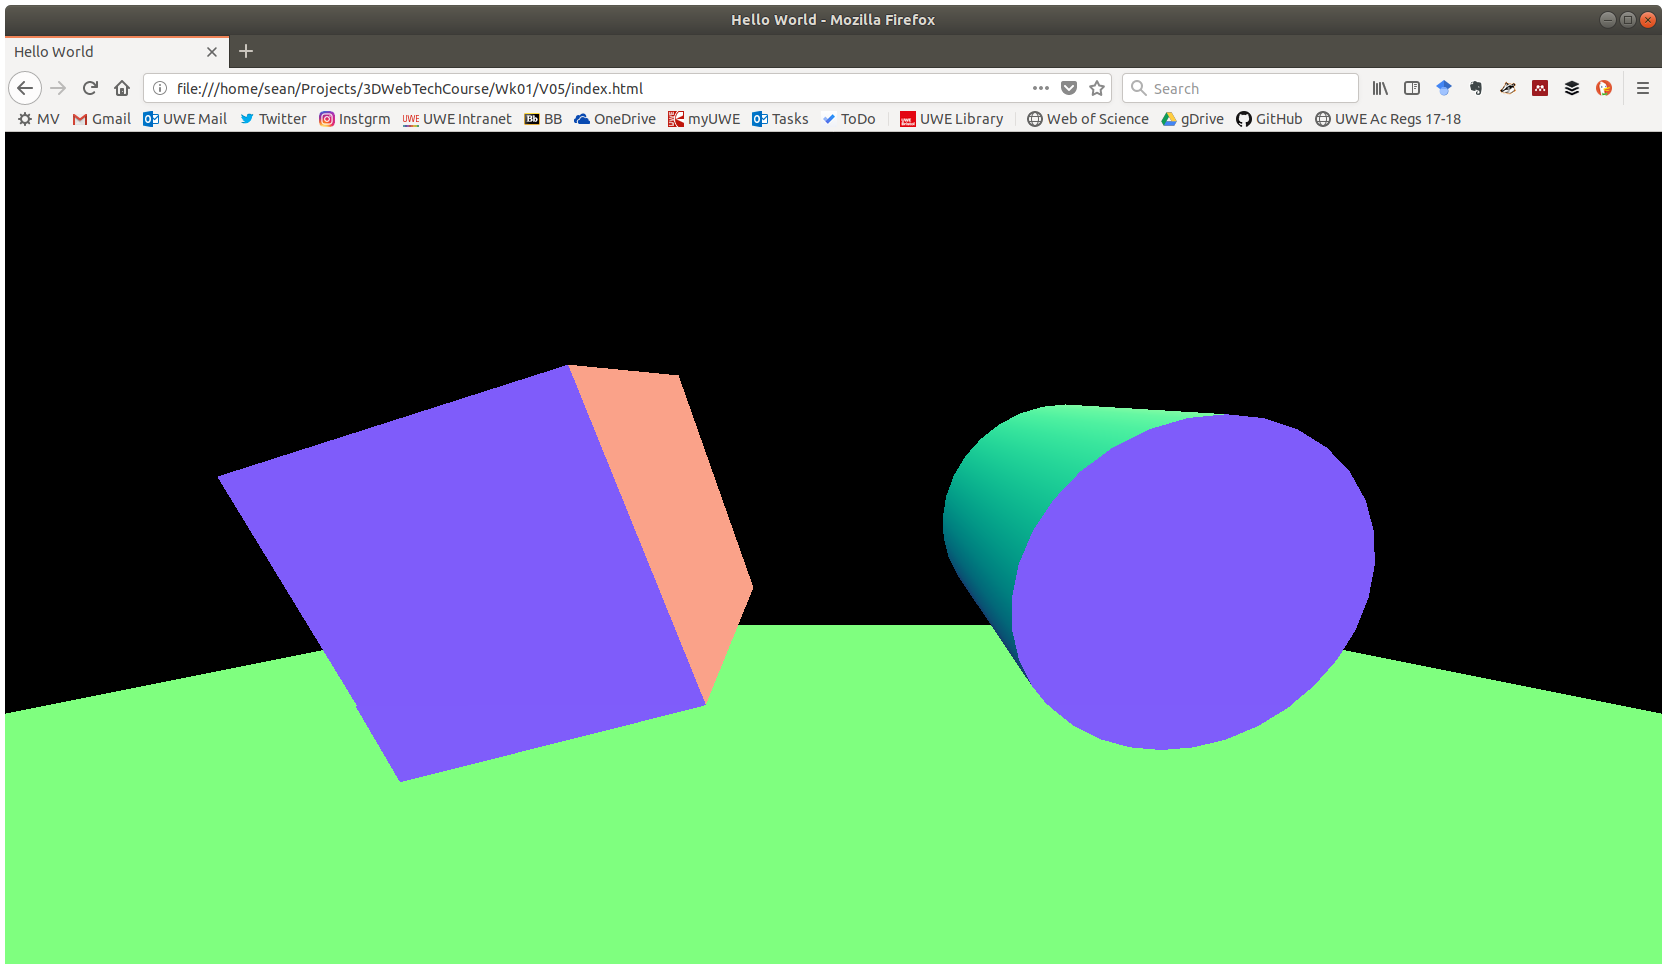
Last week you built the hello world of graphics, a spinning cube. Seen everywhere since the 1950s. You also probably tweaked it a little adding in some more shapes and moving them around. Perhaps your scene now looks a little like this:
This week we are going to add more to the scene and as make it interactive! But first, lets re-structure the project slightly by separating the code into different files and making them reference each other. This restructuring is and example of ‘refactoring’ which is a common activity when developing products with code.
Step 1 - Duplicate Project
Take Last weeks Project, Duplicate it into a new directory 3DTech/Week2, 3DTFTW/Ex2 or something similar. Its your choice. You should have a single HTML file with html, css and js all embedded.
Step 2 - Separate CSS File
Usually we don’t amalgamate our js and html into the same file. In all but the smallest projects its too unwieldy to manage.
Using google search for “how to include a css file in html”. Somewhere on the first page you will usually find a link to stack overflow, which is your goto site for programming knowledge. (Also Mr Doob and Mozilla for 3d web programming)
I found this one… https://matthewjamestaylor.com/add-css-to-html
- Create a new file whatever.css in the same folder/dir as your index.html
- Cut and paste the following CSS into this new file.
    body {
        margin:     0px;
        overflow:   hidden;
    }
Follow the instructions from the stack overflow link below and create a link to the css in the new file. Test that your code works.
- https://stackoverflow.com/questions/1947878/adding-external-css-in-an-html-file
If your code doesn’t work, there are a few possible sources of errors.
- Make sure you don’t copy the tags around the css.
- Make sure you don’t leave the tags behind in the HTML.
- Make sure you your filename and relative path to the css is correct.
Step 3 - Separate JS File
Now we are going to separate out the js so we can more easily manage the project. Using google search for “how to include js in html page”. Find a stackoverflow link, that the search returns, probably on the first page.
1 Create a new file game.js in the same folder/dir as your index.html
- Cut and paste the js from your original file into this new file.
- Follow the instructions from the stack overflow and create a link to the js in the new file.
- https://stackoverflow.com/questions/196702/where-to-place-javascript-in-an-html-file
- Test that your code works.
If your code doesn’t work, there are a few possible sources of errors.
- Make sure you don’t copy the tags around the css.
- Make sure you don’t leave the tags behind in the HTML.
- Make sure you your filename and relative path to the css is correct.
Add a Plane
Goto https://threejs.org/ and select ‘documents’. In the search box type ‘plane’. Then under geometries select ‘PlaneGeometry’. This will take you to a page where you can see a demo of a plane, a source code example of a plane being made, and also a description of the parameters for the function that constructs a plane.
    var planeGeometry = new THREE.PlaneGeometry( 10, 10);
    var planeMaterial = new THREE.MeshNormalMaterial( );
    var plane = new THREE.Mesh( planeGeometry, planeMaterial );
    scene.add( plane );
You may not see the plane properly from the above code, its likely blocking much of the scene on screen. So, you will have to make the plane small enough to see and not so small its hidden inside your cube.
If you still cant see the plane, check where it is positioned? Perhaps it is out of view of the camera. Move it to the origin of the scene, this is also the middle of the scene and located at coords (0, 0, 0). Make sure the camera and the other objects are positioned so you will see everything. It may take you some experimentation to make a clear scene.
    plane.position.x = 0;
    plane.position.y = 0;
    plane.position.z = 0;
Experimenting With Your Plane
Try changing the above code so that the plane is medium, say 5 * 5 and has only 1 subdivision/segments in each direction.
var planeGeometry = new THREE.PlaneGeometry(5, 5, 1, 1);
Rotating your Plane
Lets say to make a nice scene we want the plane horizontal, with the two objects floating above it. Rotate your plane around its x-axis.
plane.rotation.x = -1.570;
With computers we usually use radians instead of degrees, because there is a close relationship between circles and PI. There are 2xPI radians in a circle.
plane.rotation.x = -3.14159 * 0.5;
Use google to find the wikipedia page on radians. Read It. Raise your hand if you have any questions.
Make an Object Move On Input
web browsers provide facilities to interface with the larger operating system. we can tap into these using ‘EventListeners’.
There are a number of events we can listen to in our code, including keydown, keyup, mousemove etc.
The following code declares an event listener which when a key is pressed ‘keydown’ the function onDocumentKeyDown is called. The event listener is ‘attached’ to the document object, which in this case is the webpage itself.
You can attach listeners to specific objects within your webpage so the code is called only if the user interacts with that button, div or similar.
document.addEventListener("keydown", onDocumentKeyDown, false);
We need to declare and define the function ‘onDocumentKeyDown’ this function received as its parameter the event received by the listener. In this way we can attach any functions we write to any of the external events generated by the browser/os.
function onDocumentKeyDown(event) {
    var keyCode = event.keyCode;
    // up
    if (keyCode == 87) {
        myCube.position.y += 0.25;
        // down
    } else if (keyCode == 83) {
        myCube.position.y -= 0.25;
        // left
    } else if (keyCode == 65) {
        myCube.position.x -= 0.25;
        // right
    } else if (keyCode == 68) {
        myCube.position.x += 0.25;
        // space
    } else if (keyCode == 32) {
        myCube.position.x = 0.0;
        myCube.position.y = 0.0;
        myCube.position.z = 0.0;
    }
};
Thats great now our cube should move if we use the keyboard. What are the problems with this approach?
- Can you adjust the code above so that you can move the cube in two directions at the same time?
- What do the numbers mean? Can you change the code so that we refer to words instead of 68, 83 etc?
Creating an Entity Class
Create a class, like the one below. Now instead of creating your column object materials and meshes in the global code make them in the constructor.
https://developer.mozilla.org/en-US/docs/Web/JavaScript/Reference/Classes
i’ve left some incomplete parts of this code, you should look above at where we created the planeGeometry for some pointers to what should go in instead of the //…
  class Entity {
    constructor() {
        this.geometry = //...
        this.material = //...
        this.mesh = //...

        scene.add( this.mesh );
    }

    update() {
    }
  }
use the new command and the THREE geometry, material and mesh methods from earlier in your code and copy them into the constructor function.
you will need to make sure the mesh function’s parameters are this.material and this.geometry instead of the global variables you used before.
var myObject = new Entity();
The new keyword calls the constructor method of the class above. the value returned is the new object created with the variables setup as in the constructor.
In this way we can package up all the various functions necessary to make an object into their own ‘type’ and recreate many of them just using the one call. In practice we can call the Obstacle pretty much anything we like. Tree, Player Monster, Critter whatever. then in its constructor put code the make it the way we like.
Lots of obstacles
Use the new more than once command to instantiate a few columns. where do they all appear?
Take a look at the following.
https://developer.mozilla.org/en-US/docs/Web/JavaScript/Reference/Global_Objects/Math/random
Can you make them appear in random places? Hint: earlier we set the position of a mesh. you can do the same and set the position of the mesh when you make it inside the constructor.
Array of obstacles
An array is a container, it allows is to create many variables and keep them in a list or table of sorts. We can then access them directly or by number.
https://developer.mozilla.org/en-US/docs/Web/JavaScript/Reference/Global_Objects/Array
You can create an array just like any other variable. Except this time you use square brackets. This following code creates an empty array.
var obstacleList = [];
The array is a flexible versatile container, we can think of it like a list or a table and also like a stack or queue. There are methods for each way of accessing it. For now, to add something to the array we say ‘push’ which adds a variable to the top and also grows the array by one. Bit like a stack of trays in a cafeteria.
obstacleList.push(new Entity());
Loop to Fill the Array of obstacles
Use a for loop to fill an array of the obstacles you created.
https://developer.mozilla.org/en-US/docs/Web/JavaScript/Reference/Statements/for…of
Exercises
Take a look at the following.
https://en.wikipedia.org/wiki/Sine_wave
https://developer.mozilla.org/en-US/docs/Web/JavaScript/Reference/Global_Objects/Math/sin

- Can you make the obstacles them appear in a winding row?
- Can you make them appear in 2 winding parallel rows?
- Use the update function to slide the obstacles or the player along the ground automatically?
- Can you use the random numbers to make the obstacles appear with a clear space between them?